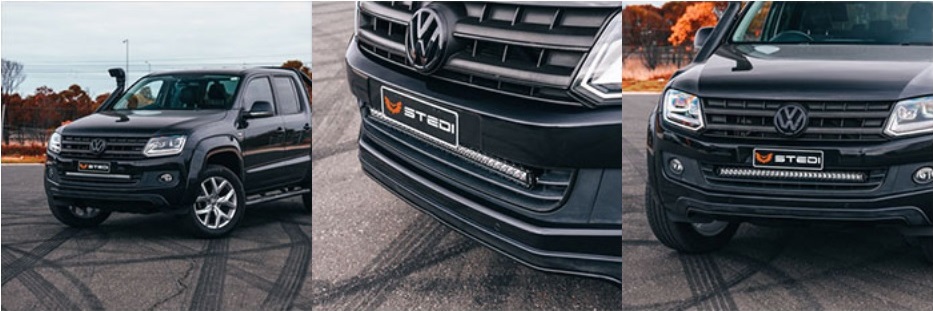
Note: These instructions are for installing the 31.5" bracket and light bar on a 2016 model. If you are installing the 21.5" bracket or fitting on a facelift model with a honeycomb grille, use these instructions as a general guide only.
1. REMOVE & CUT
Begin by opening the vehicle’s hood and locating the 4 screws/clips that attach the upper half of the front bumper to the radiator support panel. The two outer screws can be removed with a Phillips screwdriver, and use a small flathead screwdriver to loosen the two on the inside. Note that this may vary slightly depending on the model year, but they are still removable. Now use a saw with a narrow blade to cut out the lower grille section, leaving 1 vertical rib on each side and 1 horizontal rib at the bottom (31.5" bracket).
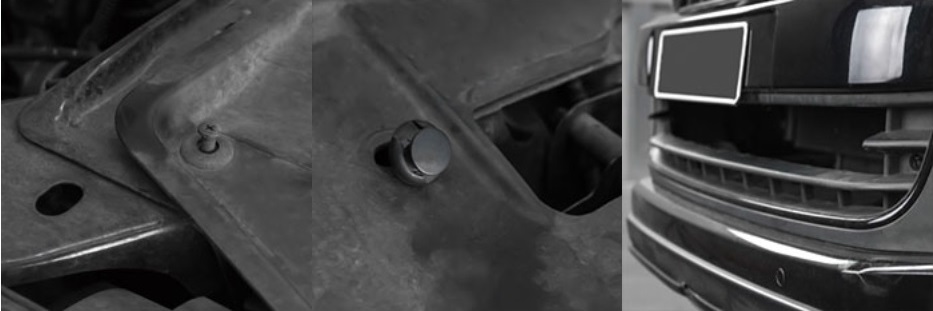
2. POSITION THE BRACKET
Slide the bracket into place, gently pull back the top of the upper front bumper enough to pass it through, and be careful not to stress the bumper too much while lifting to avoid damage.
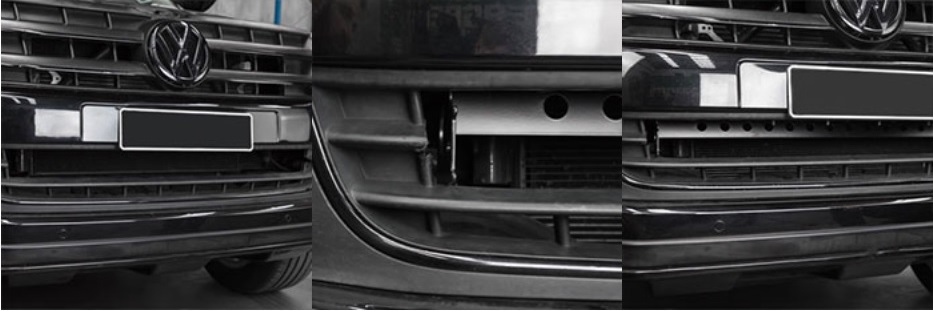
3. SECURE THE BRACKET
Looking down behind the license plate area, you’ll see 4 holes in the bumper support. Insert the 4 supplied bolts through the holes and position the bracket in place. Tighten the nuts and bolts securely to the bumper support. Using a socket wrench with an extension will greatly help with access to the top bolts. Any wrench or adjustable spanner can be used to hold the nuts while tightening from above, or vice versa.
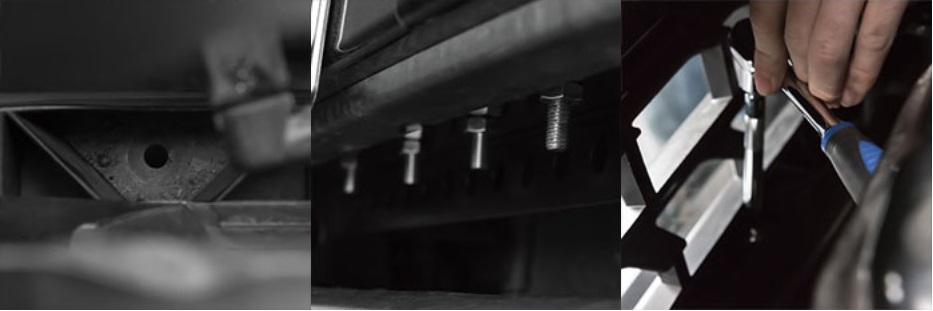
4. LIGHT INSTALLATION
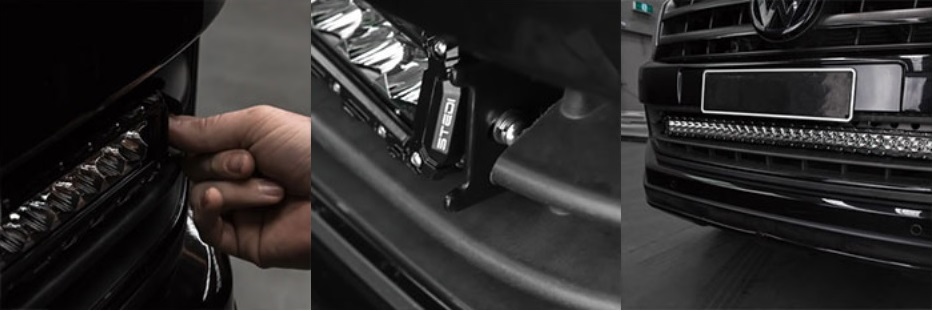
Once the bracket is firmly installed, all that remains is to mount your ST3K – which is quite straightforward. You may need to be a bit dexterous when tightening, as the side screws on the light bar can be slightly tricky to reach. Adjust the light bar’s angle as desired, and you’re ready to go.
5. DONE